
Everything You Could Want to Know About Painting
ALL BLOG POSTS
Got Something In Mind?
We are not kidding about how much there is here. Search for what you’re looking for and make it easy on yourself, will ya?
Featured posts:
ALL POSTS

When do I need to prime when painting?
This is a question we get asked about ALL the time! Priming can be a make or break on certain (areas) of paint jobs. Sometimes we do get clients that are super educated on the paint process that even assume primer is needed on some areas in which it is not necessary. Although we love to play by the rules and ensure a top quality finish, some times it just impacts the efficiency of a high-quality job in a negative way (for no reason!).
There are many different types of primer, both for interior painting OR exterior painting. Some primers can be used for both, under different applications. Much like paint, there are latex based primers or oil based primers. If you are doing the painting yourself, it will be a good idea for you to ask your paint representative for the best recommendation for your project. Keep in mind that each surface generally requires a different level/process of preparation before painting. If you are having a professional painter in your home (like us!), we will generally provide all primer required for any sections of the paint project. Primer is something we have in our general stock of supplies required to complete your paint project.
Some areas where primer may be required on your paint project are:
-fresh drywall
-stained/inked drywall, ceilings, trim
-stained/fresh wood to be painted interior or exterior
-peeling or worn areas of wood, stucco
-dark or colourful walls or other areas going white or lighter colors
-walls or other sections being painted a dark or bright color like Red
Some areas where primer is not required on your paint project are":
-entire rooms going a similar color or shade
-wood that will be stained in any way
As mentioned, sometimes areas being painted in to a drastic color change might be primed before painting. If the color change is questionable if it warrants a primer, we may just try for 2 coats and add a third of the new color as required.
We hope this helps in your quest for knowledge about priming before paint jobs! As always, feel free to reach out for more specific answers to your painting questions, or contact us for a referral to someone in our professional painting network.

How to paint an entire room - the professional painters way
Whether you’ve decided to tackle painting a room yourself, or you’ve hired some professional painters to come and do it for you; did you know there is in fact a proper way in which to paint an entire room?
The order in which you paint all the surfaces in the room is SUPER important, and will actually save you time AND money!
As a general rule in professional painting, you should always be starting at the top and working your way down. This goes for surfaces, as well as the way you approach each surface with the paint.
So what are we talking about?
Well, let’s say you are painting your ceiling, walls, doors, as well as trim.
You should always be painting your ceiling before you paint any other surfaces. As with any time you are using paint, it is likely to have some drips, and is ideal that if they are to happen, that they are dripping on walls that haven’t been painted yet. Did you know that if you are painting the whole room, you can and actually are encouraged to get some of that ceiling paint on the top of the walls as well? Talk about a time saving tip! Also, if you ensure that you overlap the ceiling paint onto the walls, you are actually ensuring that when you go to paint the walls, that you have a nice fresh start to getting that perfect ceiling cut line!
The next area you would want to paint is the trim. The reason for painting the trim second, is actually the same as the ceiling. Make sure that when you are painting the trim, you go over onto the walls so that you have a nice blank slate to make that amazing cut line with the wall paint next to! If you’ve ever painted just the trim of your space, you know how tricky it can be to make those cut lines on the side of the trim, without making a mess. AND how much longer it takes.
Now that you’ve got your ceiling and your trim painted, the next step is to paint the walls. Again, our approach is to start at the top and work our way down on each surface. A good method to remember on any surface you are painting is “top to bottom, left to right”. That means starting in your top left corner and working your way across and down the wall, trim, or whatever it may be.
Next up you will want to paint your doors. Now technically you could do this at any phase of the painting. We typically like to do them last if it makes sense to, to eliminate the risk of any of the other products dripping on them and needing a touch up after. But it’s totally up to you! You can see how they could fit in almost anywhere in this painting equation.
Of course there are exceptions to any rule, but now you’ve got a general idea of how to approach painting any room to do it in the fastest and most time efficient way.
If you don’t feel comfortable tacking any aspect of your room, you can always contact us for a referral partner in your area.

What will it cost to paint my house?
Painting is one of the easiest and most budget-friendly ways to make the biggest impact on your house. Whether it be your current home or an investment property, new paint can make the world of difference in how you and others see your home. It also serves as protection for many of the surfaces on the exterior and the interior of the home.
Before any projects begin, you must of course know your budget, and how much it will cost to paint your home.
There are many factors to consider when getting a quote for professional painting. Many clients believe that they will be quoted based on the typically stated “square footage” of their home. While that does play a factor, there can be many different wall/room layouts from one house to the next, and it makes things quite difficult to quote for painting. Other factors to consider when getting a quote for professional painting is the height of the ceilings (or siding, if you are painting exterior), the complexity of the cut lines to be painted, and the level of preparation required. What that means is that not all walls are created equally!
Depending on the colour of your surface, and the colour you are looking to achieve when house painting, some surfaces may require a primer prior to painting, and some surfaces may require several coats of paint. Some surfaces may require extensive prep work compared to others as well.
As you can see, quoting for house painting is a complex process, with a lot of factors to consider. There are several things for a professional painter to look at when providing you with an accurate paint quote. It is very important to have the experience needed to know how much product and time is required, so that there are no surprise costs during the process, or when the project is complete.
If you’re looking for a quote for painting in your area, contact us for a referral!


Cabinet Painting 101
Painting your cabinets is one of the most effective ways of updating your kitchen. Since cabinets take up the largest portion of space in your kitchen; no matter the age of your cabinets, painting them will instantly update the space and bring new life into the area.


How to Paint Your Cabinets
Step by Step Instructions of How to Paint Your Cabinets with Brush/Roller.
This is the first video I ever shot and edited!
How to Paint A Garage Door

An extremely common piece of your exterior that’s likely to fail is the bottom of your metal (and let’s face it, ANY) garage door.
Today we will talk about your aluminum garage door and what you can do to remedy the situation.
Now, for this set of photos, I forgot to take a picture of what it looked like initially. But if you’re here, chances are you already know. ;)
The first step you are going to take is to clean up that rust and get yourself as smooth and rust free as you possibly can. A wire brush usually works best or sandpaper. Go very gently and adjust the pressure as you need to.

The next step is to apply some bondo to the damaged area. Again, your goal is to fix damage, fill any holes, and create a nice smooth surface to paint over.
Once that is dry, you may have guessed it….your next step is sanding. As a psuedo-professional painter, sandpaper is like your number 3 best friend. So if you hate doing it (we all do), you’re going to want to make friends with it and accept it for what it is - a giant pain in the ass.
Next step is another kind of pain thing to do, and it’s priming.
The good news - Now depending on your door, AND which product you are putting on it, you may not have to prime the WHOLE thing. You will definitely need to prime the repaired spots, and any other possible problem areas. Not all primers are created equally, so make sure to talk with your local paint store about which primer (and paint) they recommend you using for your specific situation. I will be creating some guides, but every region has different product offerings.

Follow up with your paint (number of coats totally depends on what color you are, what color you are going, etc).
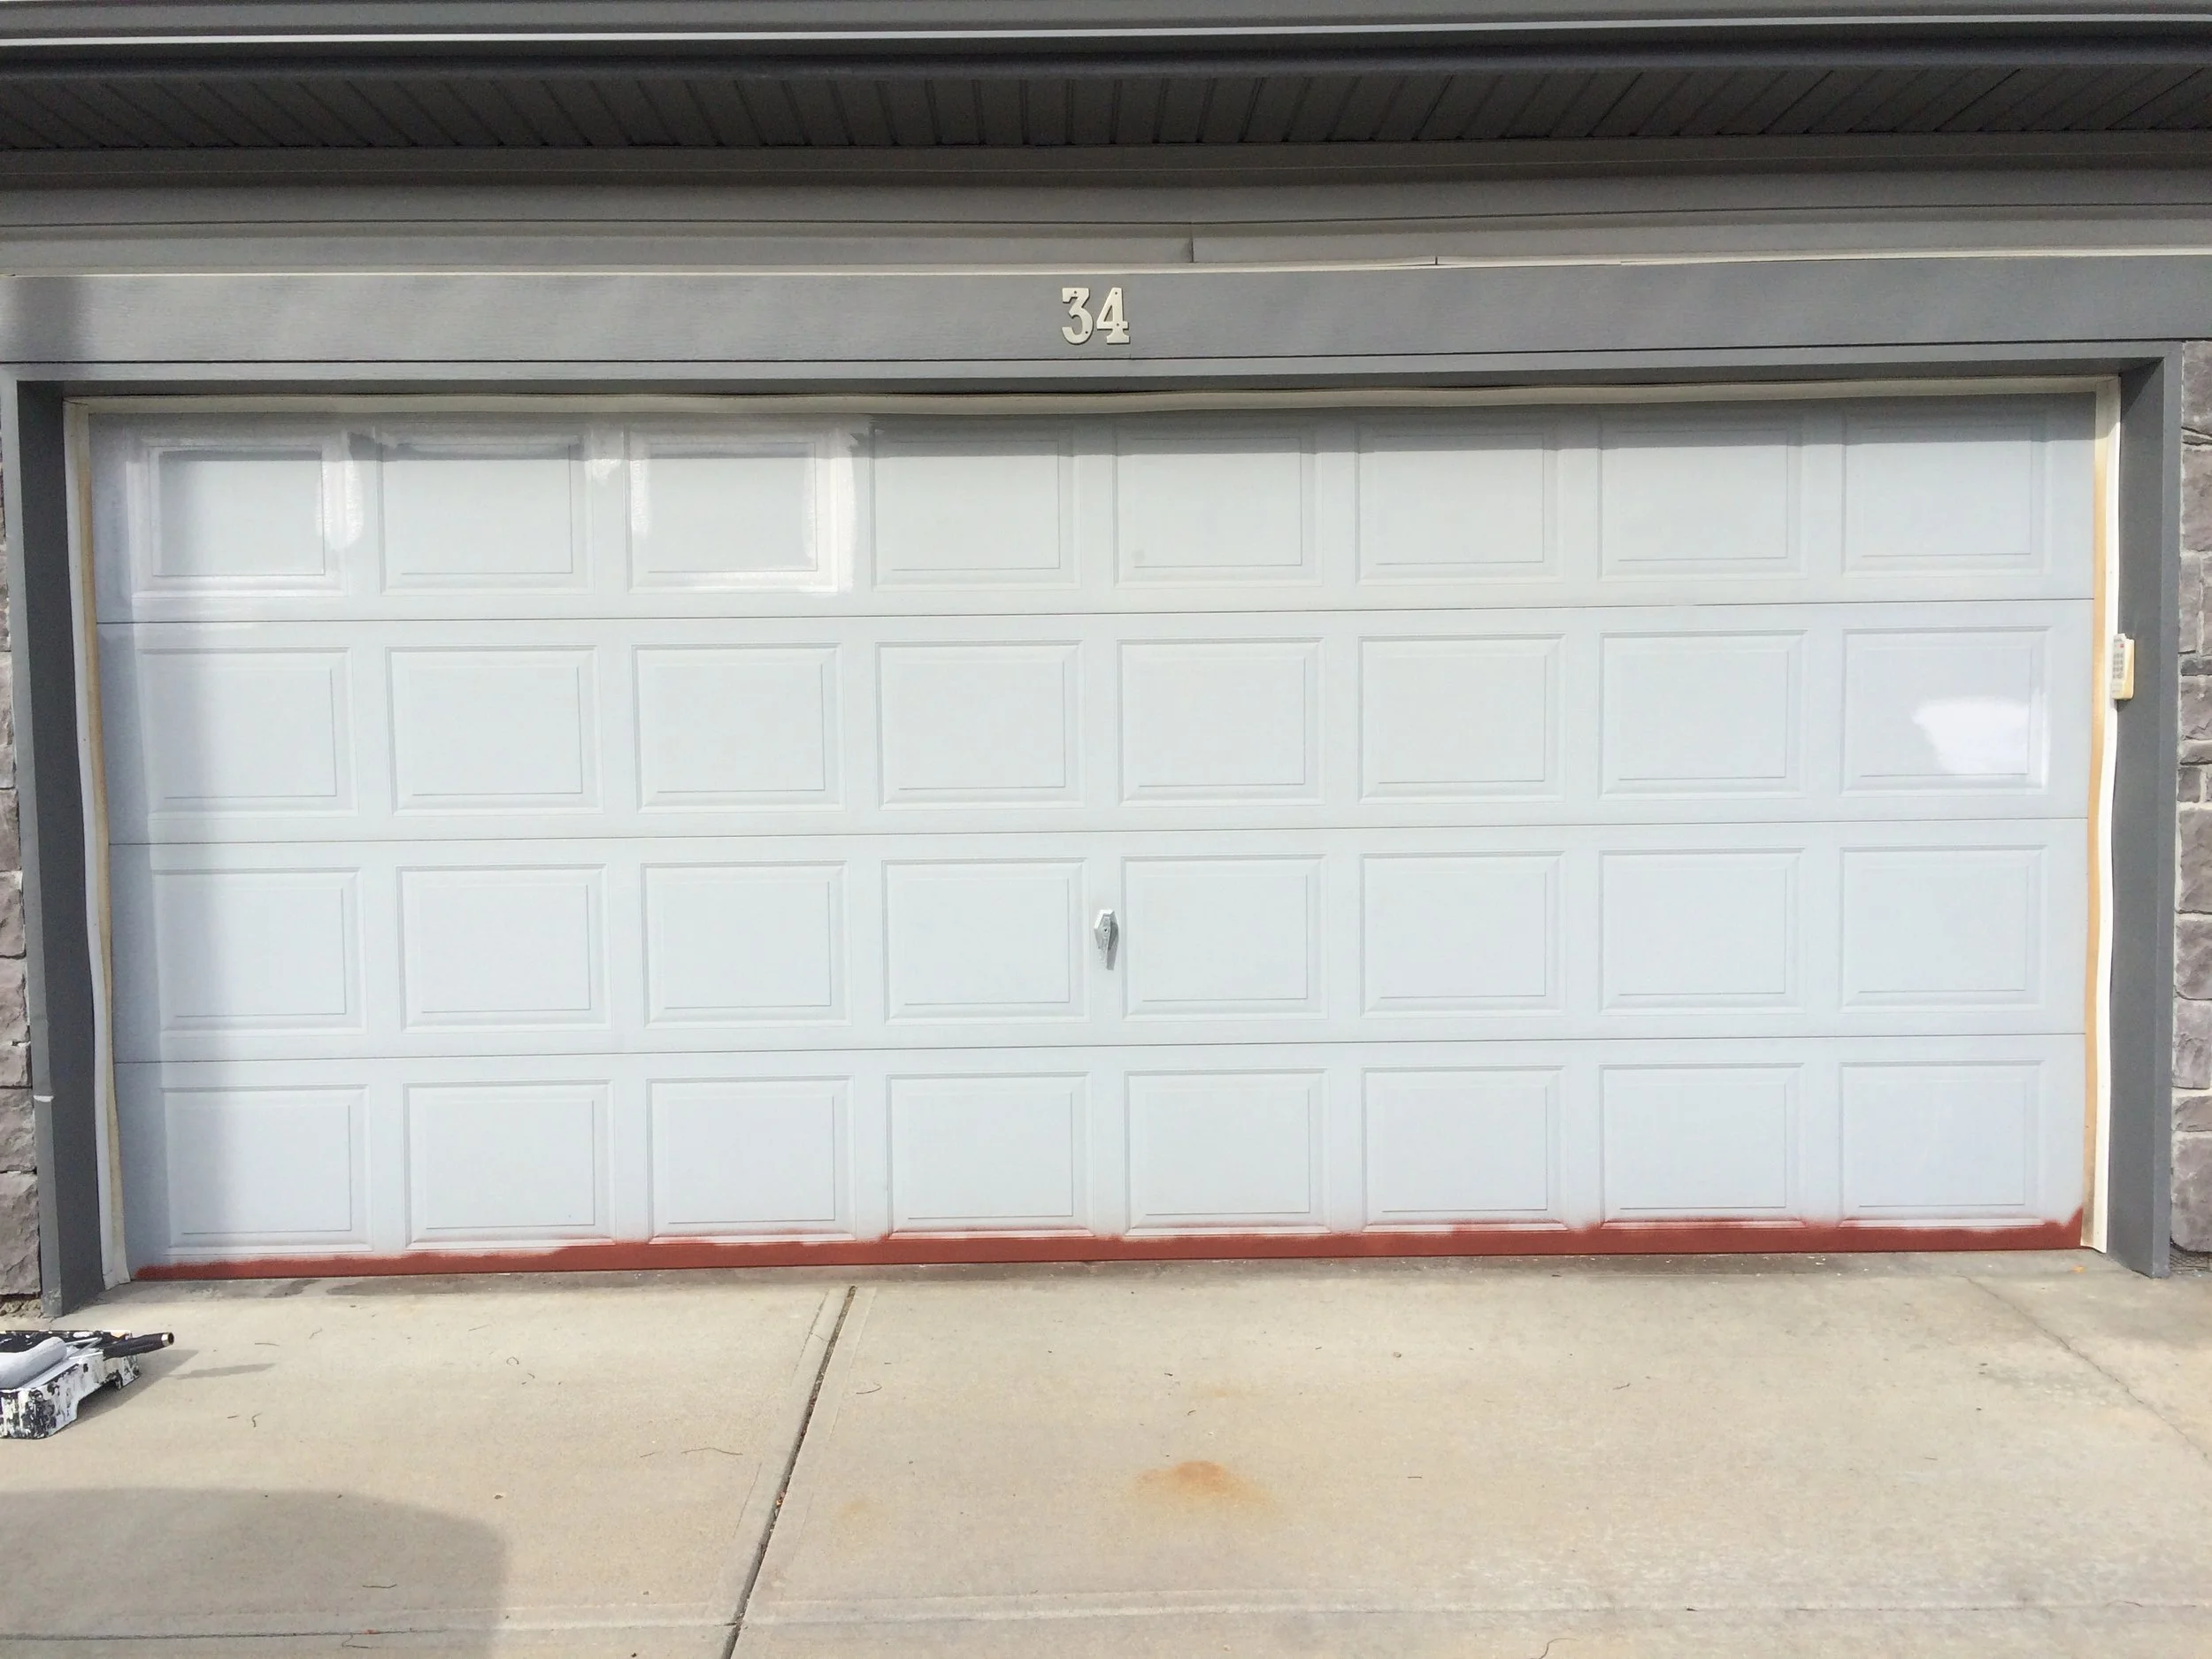
When painting, start with your cuts (As Shown Above) and follow up with your rolls. Keep that wet edge as you go, meaning don't let your cuts dry before you roll them.
As you start each new section, double back quickly to the last section you painted to make sure any drips or runs aren’t forming and lightly tap them off with your brush or roller.
As always, work top to bottom, left to right to keep yourself organized and complete the project in the fastest way possible.

Finished lower corner repair.
